Choose your download
Pick the version that matches your macOS.
Bartender 5 (macOS 14 Sonoma+) • Bartender 6 (macOS 26 Tahoe)
Bartender 5
Stable for Sequoia/Sonoma

Bartender 6
For macOS 26 Tahoe
Bartender is an award-winning app for macOS that for more than 10 years has superpowered your menu bar, giving you total control over your menu bar items, what's displayed, and when, with menu bar items only showing when you need them.
Bartender improves your workflow with quick reveal, search, custom hotkeys and triggers, and lots more.

Bartender 6 has been redesigned from the ground up to fully support macOS Tahoe and Liquid Glass. We've overhauled everything, so the entire Bartender experience should feel much smoother, faster, and more responsive whenever you interact with your menu bar.

Lightning-fast access to your menu bar items is now even better. Get instant access to your hidden menu bar items simply by swiping or scrolling in the menu bar, clicking on the menu bar, or if you prefer, simply hovering.

Access the menu bar items otherwise hidden by the notch on MacBook Air and Pro screens. Bartender will automatically hide your currently shown menu bar items when needed to create room to show the items hidden by the MacBook Air and Pro screens notch, giving you access to all your menu bar items.
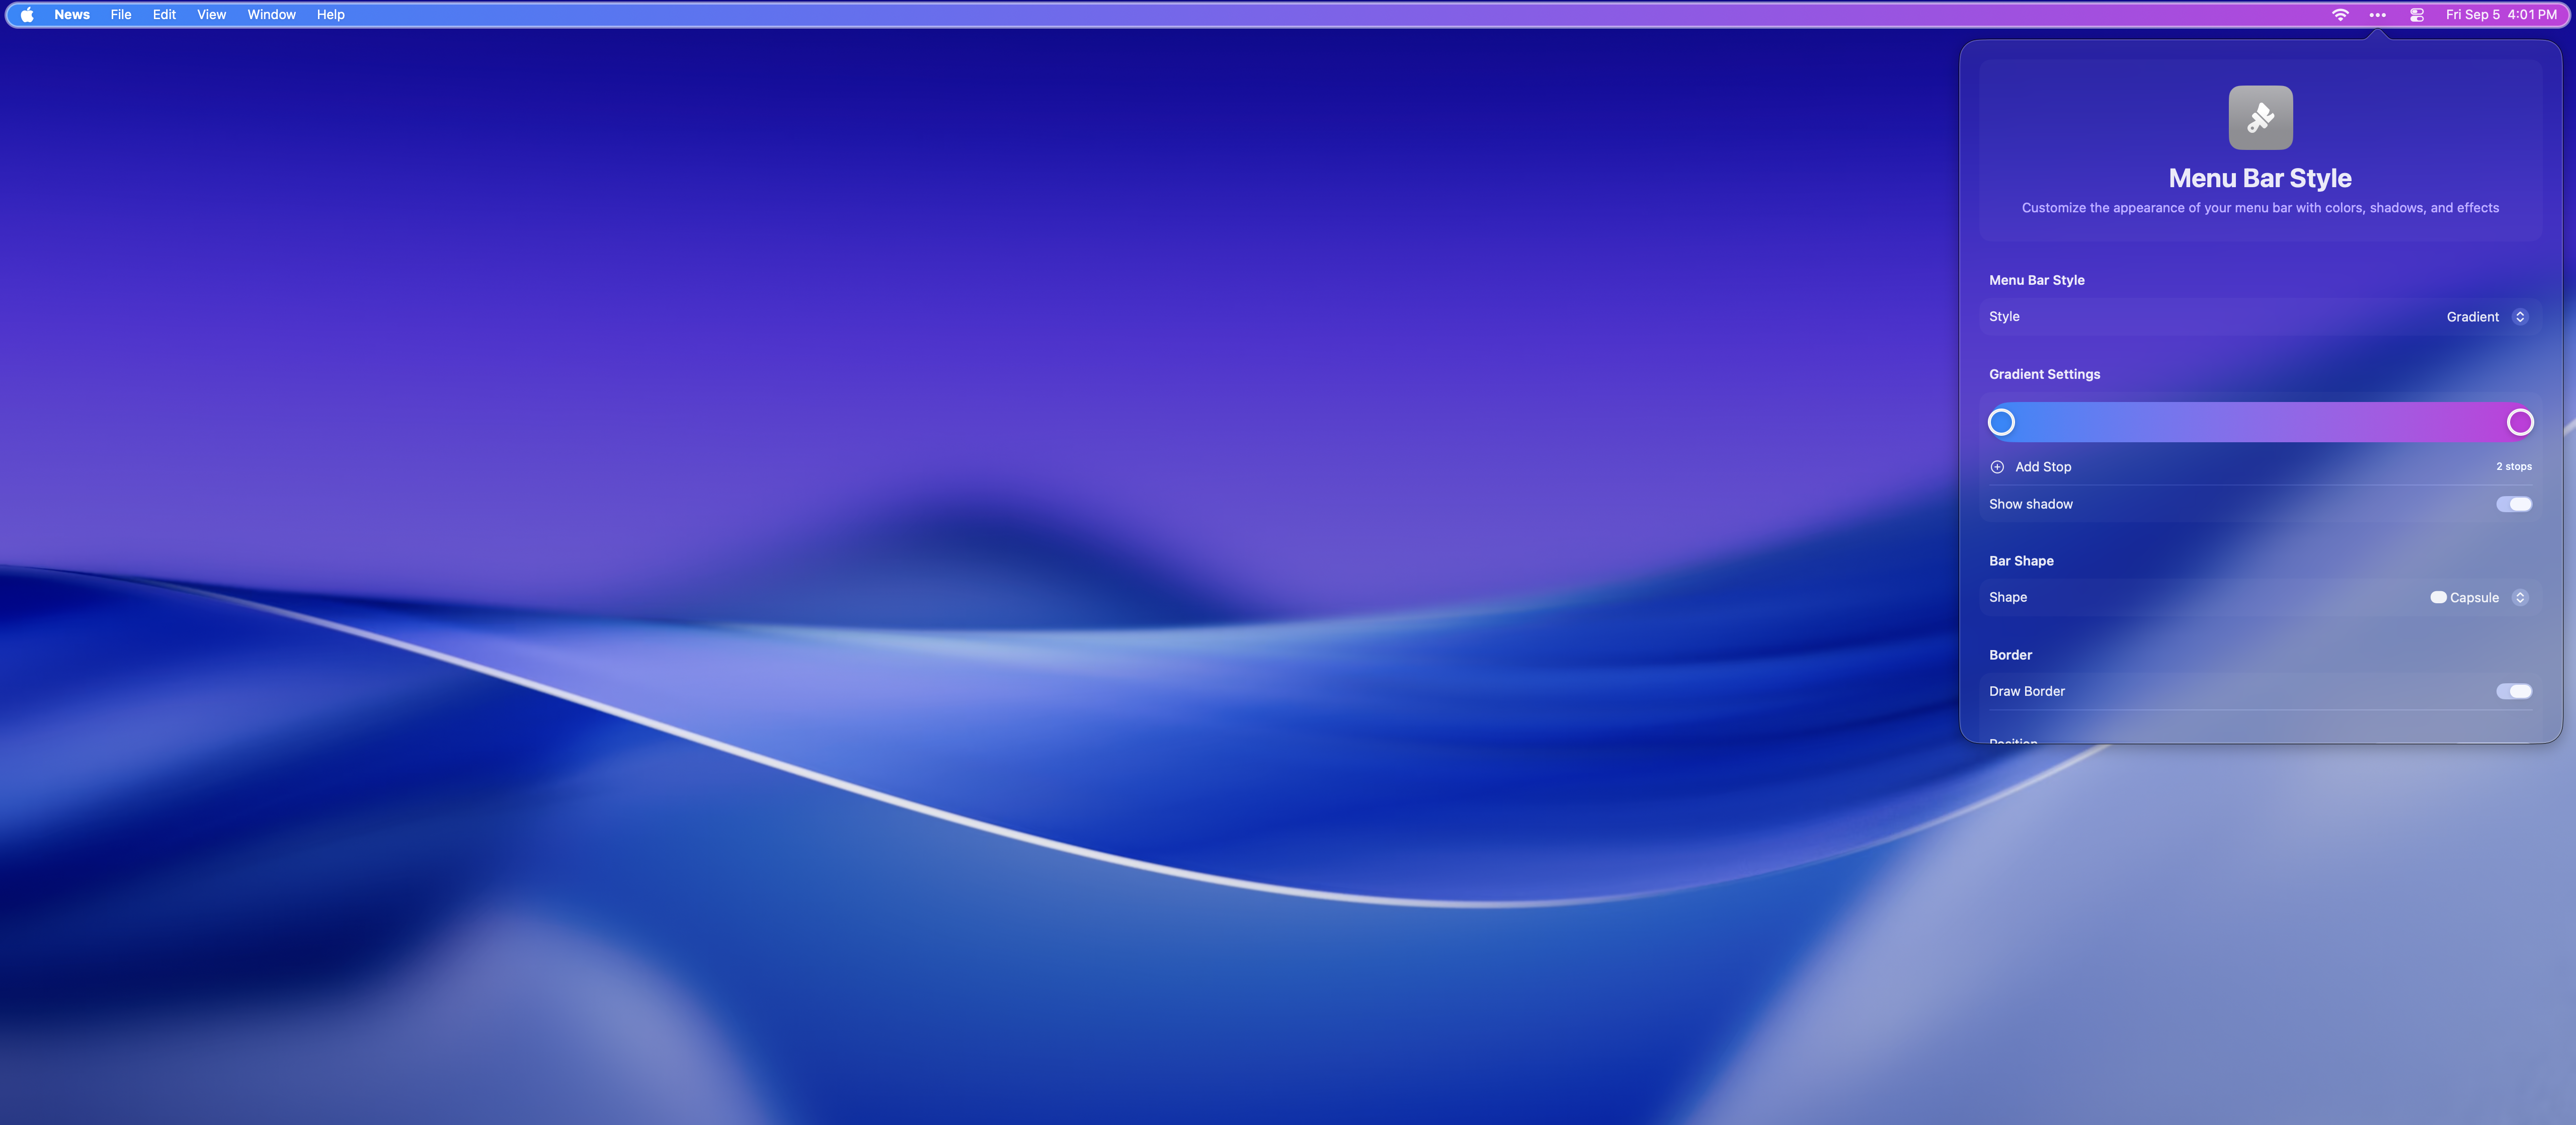

Make your menu bar your own, with menu bar styling you can:

Combine multiple menu bar items into one customisable menu bar item, and have quick access to all the menu bar items within.
For example group all your cloud drive apps together like Dropbox, OneDrive, Google Drive.
Have a group for connection related items such as Wi-Fi and VPN.
And another for media related items, like volume, media controls, airplay.
This can be a great way to have access to all your menu bar items on a MacBook Pro or Air with limited menu bar space due to the screen notch.

Create as many presets as you want and always have the right menu bar items available for your current workflow.
Show the macOS default menu bar items when recording your screen or screen sharing
Show work specific menu bar items in work hours, then social media items when at home... the possibilities are endless.
Presets can be automatically applied via triggers and also by macOS Focus modes.
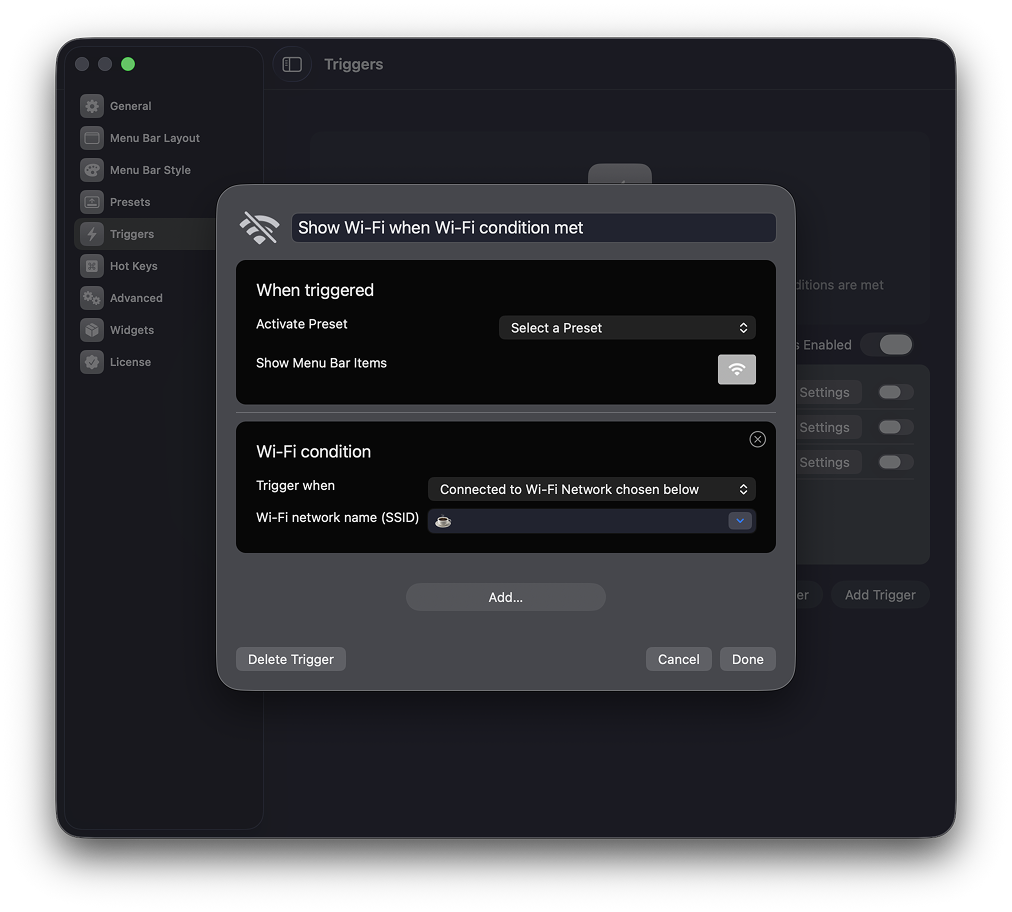
With a completely new Trigger system
you can apply a preset automatically, or show a set of menu bar items whenever your trigger conditions are met. Triggers conditions currently include
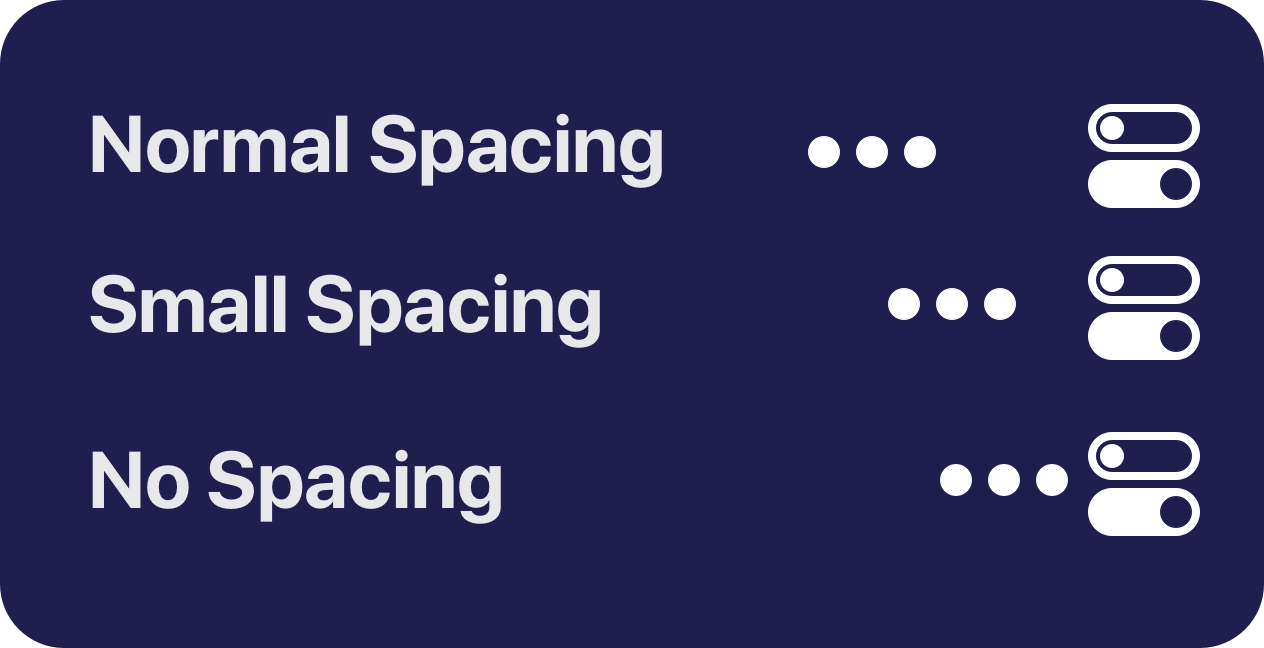
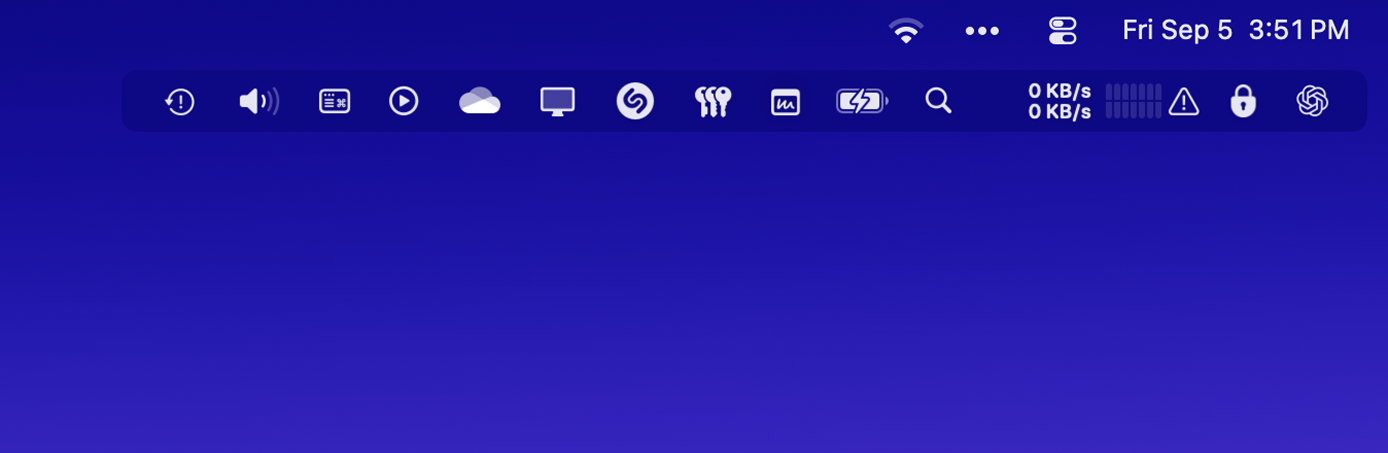
Reduce the space between menu bar items using Bartender, allowing you to have more menu items onscreen before reaching the macbook notch. Or just purely for style.
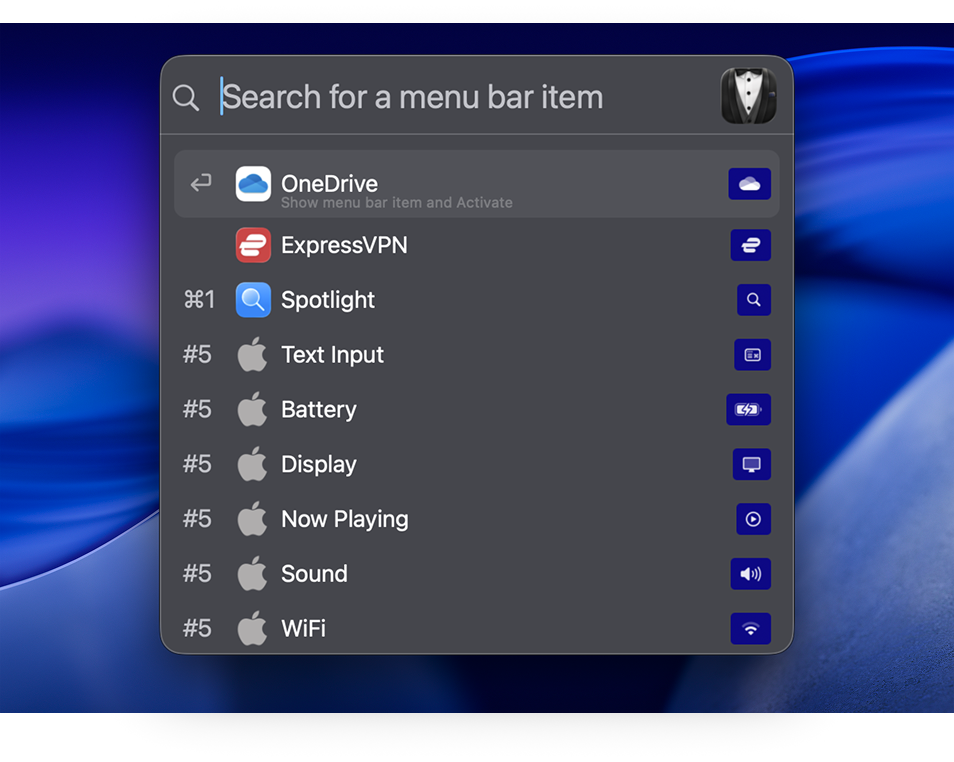
Quick Search will change the way you use your menu bar apps.
Instantly find, show, and activate menu bar items, all from your keyboard.
* the macOS screen capture menu bar item can show when using this. more info
Bartender 6 is designed for all the great changes in macOS Tahoe.
Bartender 6 runs native and lightning-fast on Apple Silicon and Intel macs.
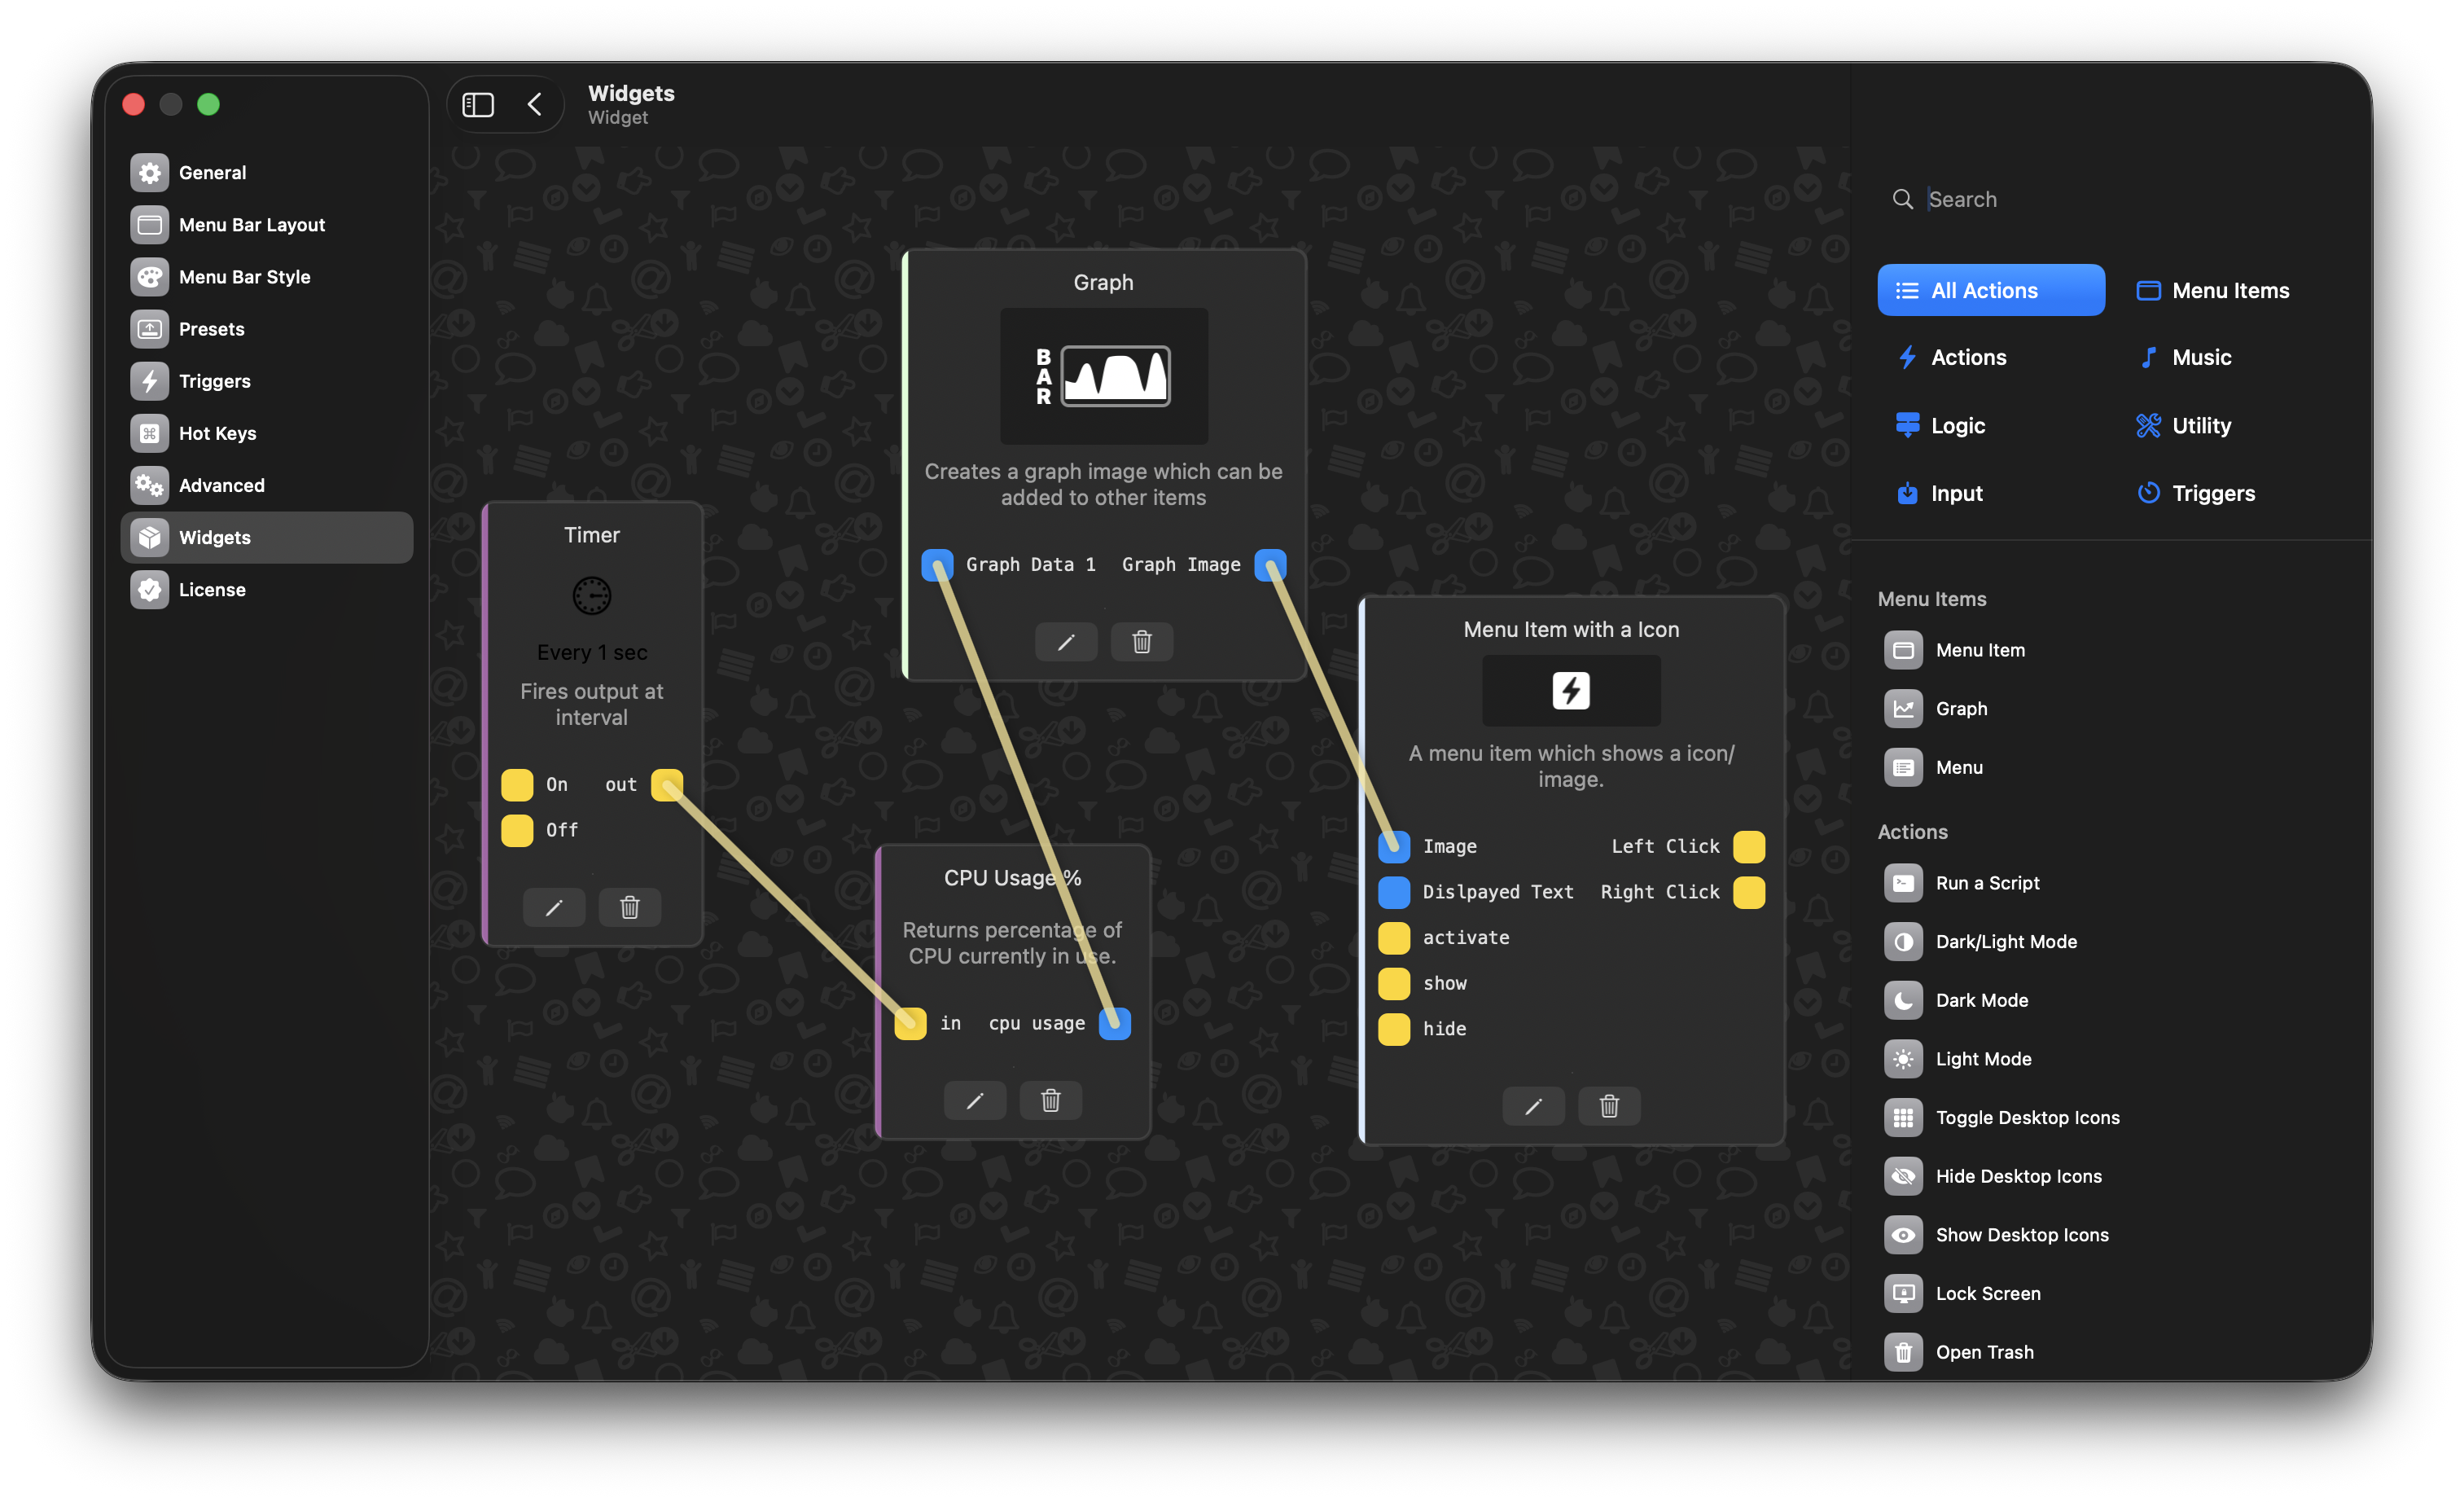
Create your own menu bar items
With Bartender widgets you can create your very own custom menu bar items, that trigger pretty much any action you want, no coding required.
Add hotkeys for any menu bar item; this can show and activate any menu bar item via any hotkey you assign.
With Spacers, your menu bar is uniquely your own, with the ability to customize menu item grouping and display labels or emojis to personalize your menu bar.
Use Apple Script to show and activate menu bar items. Fantastic for some advanced workflows.
Swap shown items for your hidden ones to take up less menu bar space, allowing you to have more menu bar items on a smaller screen.
You can choose where new menu items will appear in your menu bar, shown for instant access, or hidden for less distraction.
Flashing completely erases internal storage. Back up all photos, contacts, and messages to a cloud drive or computer.
While using the Xmobile X3 flash file verified can be a safe and effective solution, there are some precautions and risks to be aware of:
user wants a detailed article about "xmobile x3 flash file verified". I need to write a comprehensive, informative, SEO-friendly article. I'll need to gather information about the device, its specifications, common firmware issues, and importantly, what "verified" flash files mean in the context of flashing tools. I'll also need to find genuine sources for these files, guides on how to flash the device, and warnings about risks like malware. I'll follow the search plan provided. search results show some relevant pages. I'll open the most promising ones to gather detailed information. search results provide information about the Xmobile X3's specifications, a potential flash file for the Xcom X3 (which might be related), and explanations of "verified" flash files. I will also search for safe download sources and flashing guides. search results for "verified flash file" and similar terms did not yield a clear definition, but the previous result from Hovatek explained the concept. I will now search for warnings about malware in flash files. search results show that "verified" often implies malware scanning. I will also search for potential risks like hard bricks. search results show no specific "dead boot" information. I will now search for "Xmobile X3 SP Flash Tool". search results for "Xmobile X3 SP Flash Tool" are mostly general guides. I will now search for "Xmobile X3 MT6572 firmware". search results for "Xmobile X3 MT6572" show conflicting information about the Android version. The IMEI.info page says Android 8.1 Go Edition, while other sources suggest Android 4.4.2 or 4.2.2. I will investigate this discrepancy. I have gathered information from various sources. I will structure the article to cover: introduction, what a verified flash file is, detailed specs of the Xmobile X3, when to use it, how to download and verify the correct file, a step-by-step flashing guide, troubleshooting common errors, safety and disclaimer, and a conclusion. I will cite the sources appropriately. Now I will write the article. is a detailed guide to the Xmobile X3 verified flash file, covering everything from understanding what a verified flash file is to a complete flashing tutorial.
Wait for the tool to parse and load all the system partitions (Boot, Recovery, System, Userdata). Step 4: Configure the Flash Settings xmobile x3 flash file verified
This usually indicates a mismatched scatter file. Re-verify your xMobile X3 exact sub-version.
SP Flash Tool (for MTK variant) or SPD Upgrade Tool (for SPD variant) Prerequisites Before Flashing
Flashing the official, verified stock firmware is the ultimate solution to resolve these software issues. This comprehensive guide provides everything you need to know about downloading the verified XMobile X3 flash file and safely installing it on your device. What is a Flash File and Why Do You Need It? Flashing completely erases internal storage
Note: XMobile devices generally utilize MediaTek (MTK) chipsets. The following instructions are tailored for MediaTek-based variants using the Smart Phone (SP) Flash Tool. If your specific variant uses a Spreadtrum chipset, you will need to load the .pac file using the SPD Upgrade Tool instead. Step 1: Download the Firmware Package
With the scatter file loaded and the mode selected, click the "Download" button in the SP Flash Tool. The tool will now wait for a device connection.
To ensure you get the correct verified flash file, you must match these identifiers from your device (check under the battery or in "About Phone" if accessible): I need to write a comprehensive, informative, SEO-friendly
I can provide direct or point you toward the exact driver versions needed. Share public link
Matches your device's chipset (typically MediaTek/MTK or SPD). Security: Free from malware or injected trackers. Stability: Eliminates bugs found in custom or ported ROMs. Common Reasons to Flash Your Xmobile X3